THIS ARTICLE WILL HELP YOU:
- Introduction
- Section: Experiment
- Section: Locations
- Section: Experience Traffic Distribution
- Section: Audiences
- Section: Variation Traffic Distribution
- Section: Variations
- Section: Goals
- Section: Integrations
- Section: Status
- Section: Stats Settings + Script
Introduction
The "Experience Summary" screen can be found by clicking on any Experience name in the first column and "Go to Experience Summary".
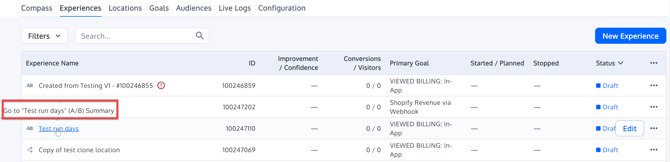
This screen includes access to all the different configurations of an experience.
Section: Experiment
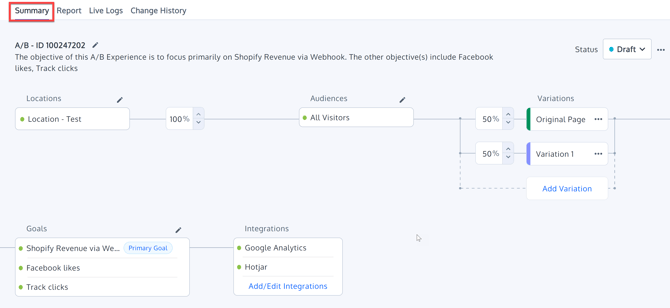
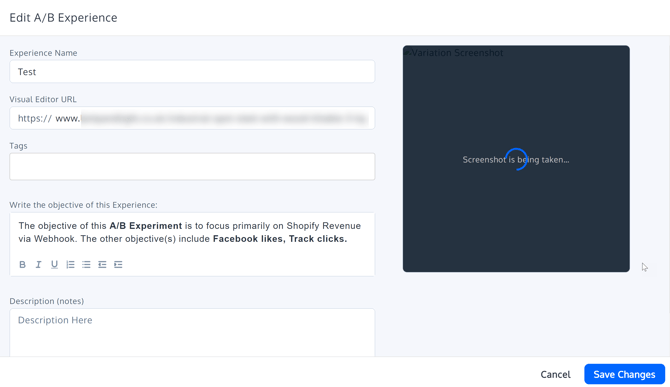
The first section that you can see in the Experience Summary screen has basic information about the Experience:
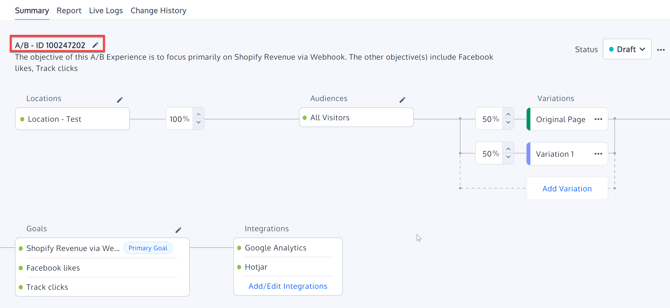
From this section, you can edit the Experience Name, add the URL that is loaded into the Visual Editor, add some tags for quicker search, define your objective, and finally add notes about your experience.
Section: Locations
The Locations is the place within the app where you configure the criteria that you want to use to trigger your experience.
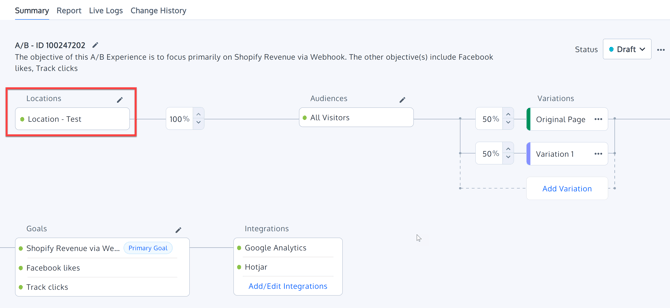
By default the experiment runs on the URL you used when creating the experiment. Multi-page, site-wide, and other conditions can be added here to trigger an experiment.
For more information on what you can do with the Locations, please read here.
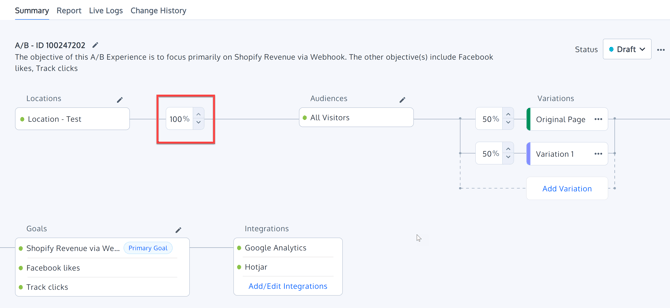
Section: Experience Traffic Distribution
Here you can allocate a traffic distribution per experience:
Section: Audiences
In the Audiences section you can configure the group of visitors to which the experience is targeted to.
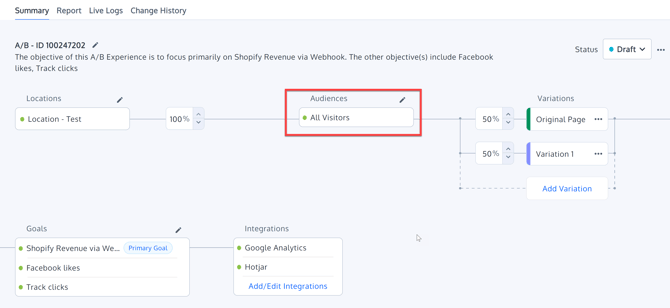
Convert provides with a powerful fine-grain control over the group of visitors that should be put in the experiment.
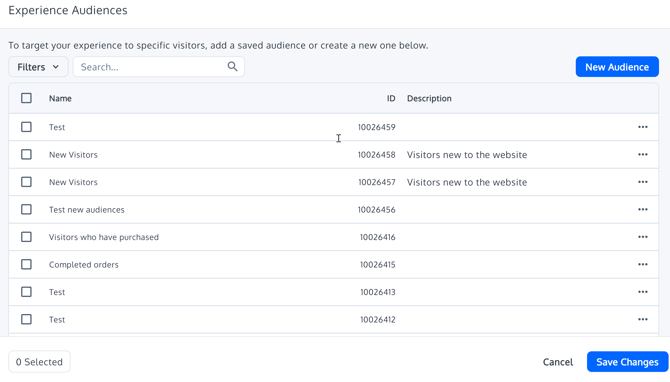
If you are interested in the wide amount of targeting options available to you, please read here.
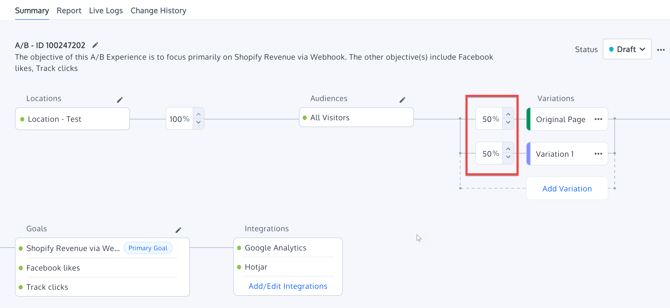
Section: Variation Traffic Distribution
Here you can allocate a traffic distribution per variation:
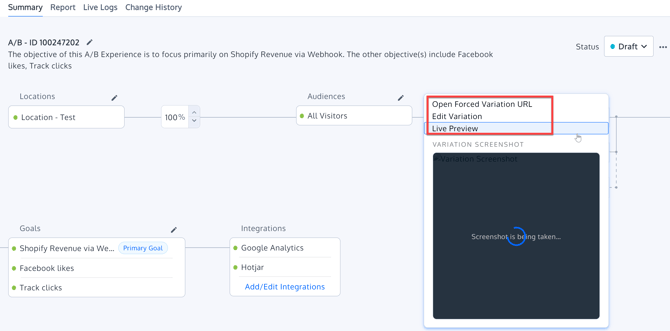
Section: Variations
Variations section shows a list of original plus all variations that were created together with a screenshot.
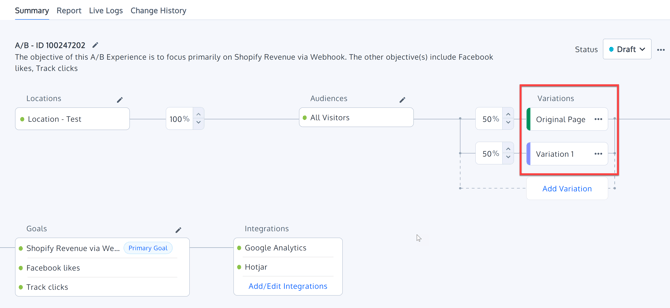
By clicking on the Edit option you can go to the Visual Editor. By clicking on the screenshot preview you can live preview the variation.
Section: Goals
On the "Goals" section of the "Experience Summary" you can configure the different goals that you want to track. Goals are conversions you want to track in your experiment.
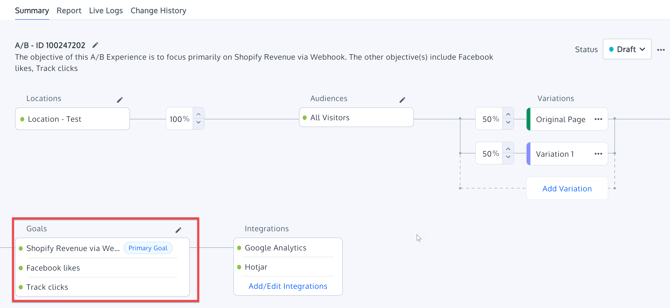
Once you click the pencil icon next to Goals, you will have access to Experiment Goals window.
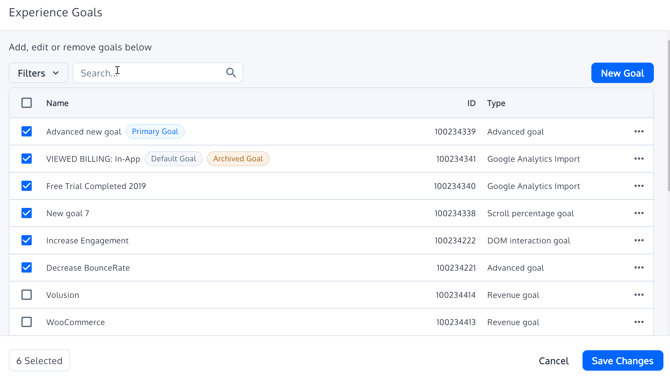
More information about the different ways how to add goals to your experience can be found here.
Section: Integrations
You can also enable/disable integrations with third-party tools we support. The full list of integrations we support is available here.

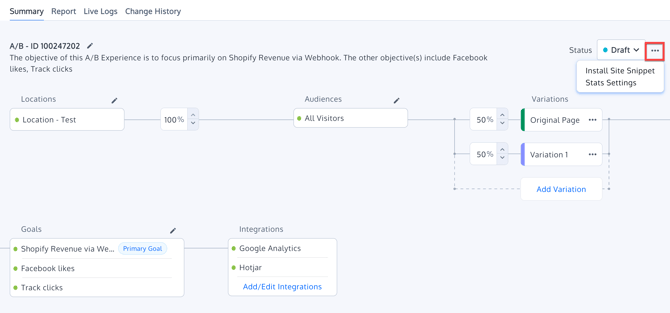
Section: Status
There are multiple statuses an experiment can have that are described here.
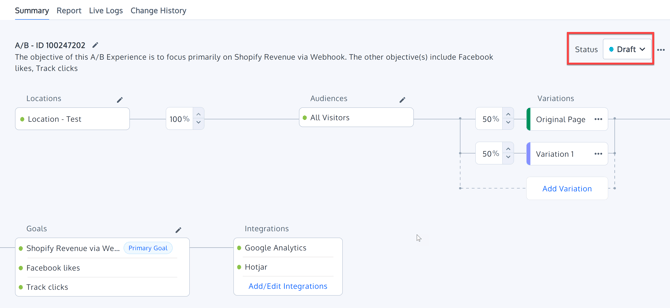
Section: Stats Settings + Script
By using the 3 dot menu next to the status, you will have access to the Stats Settings of the experience and also you can see the script that needs to be installed on your site for the experiences to run smoothly.