THIS ARTICLE WILL HELP YOU:
- Introduction
- Add Tracking Code Snippets
- Create a Custom Field in Contact
- Create your Form in Keap
- Embed the Form in your Website
- Submit the Form
- View Convert data in Keap
Introduction
Keap (formerly Infusionsoft) is a CRM & marketing automation platform for small business that enables you to organize and automate your processes.
This article will walk you through how to send Convert Experiences Project and Variation data along with visitor submissions through Keap forms.
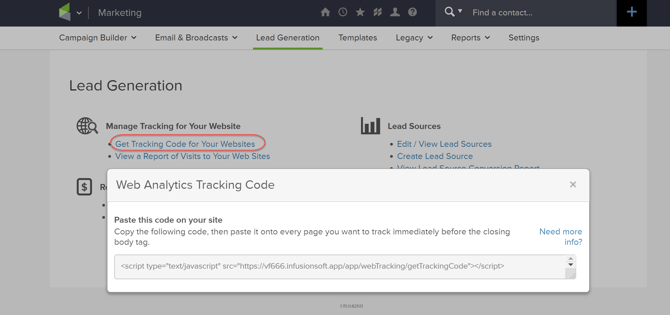
Add Tracking Code Snippets
Make sure the Convert tracking code is installed on your page.
Then, create a Keap account. On every page that you want to install Keap, paste the code snippet inside the HTML <body> tag. The Keap tracking code is available under Marketing>Lead Generation.
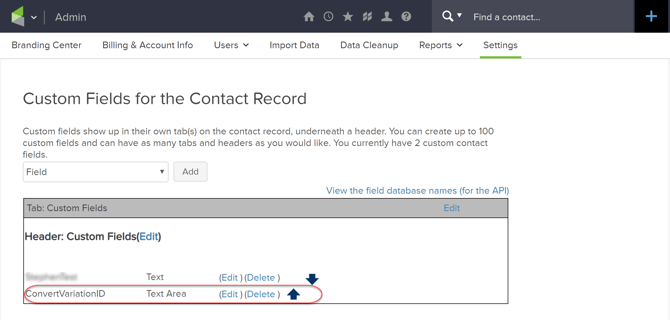
Create a Custom Field in Contact
From admin settings you should add a new custom field for Contact record and give it a name. Here we name it ConvertVariationID and will hold the Convert Variation ID that the user will be bucketed into.
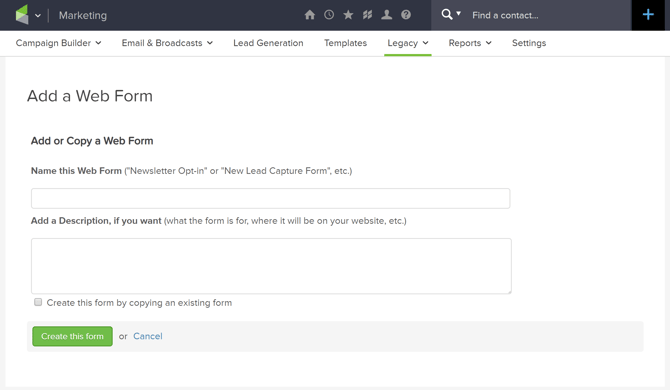
Create your Form in Keap
Create a new Web form in Keap.
On the webform, drag a Hidden Field snippet and assign it to your custom field you created in previous step. Don’t put a value in the box. We are going to use some JavaScript to populate that field.

Once you have got that, drag an HTML snippet out and put it on your form as well:
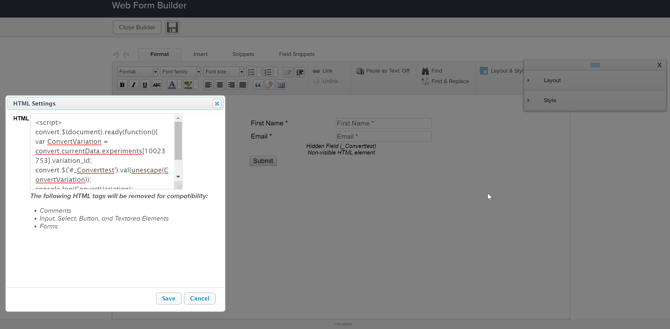
In your HTML Snippet, you will want to copy/paste the code from below. It should look like this, where instead of 10023753 you should insert your own Convert experiment id that is running on your page:
 convert.$(document).ready(function(){
var ConvertVariation = convert.currentData.experiments[10023753].variation_id;
convert.$('#_Converttest').val(unescape(ConvertVariation));
console.log(ConvertVariation);
    });
Embed the Form in your Website
Then go to Publish options in Keap.
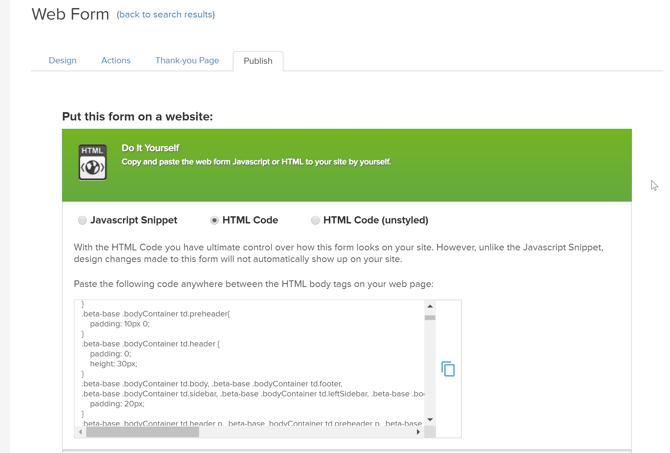
Copy and paste that HTML code into the page on your website where you want the form to show. It will look like this:
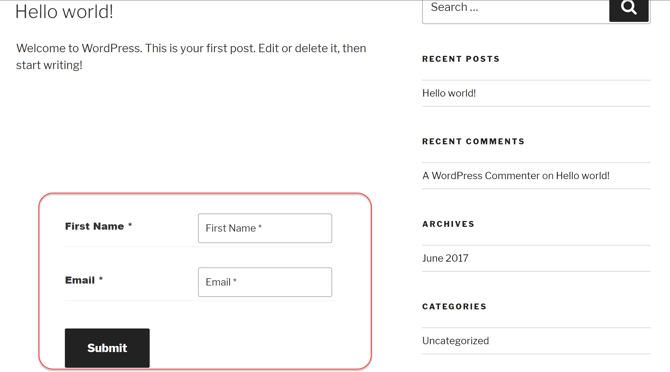
Submit the Form
Submit the form to test it out:
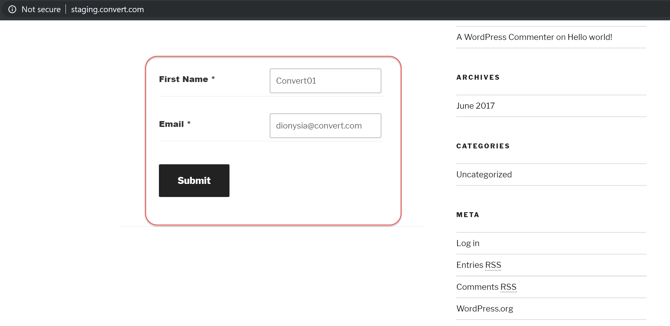
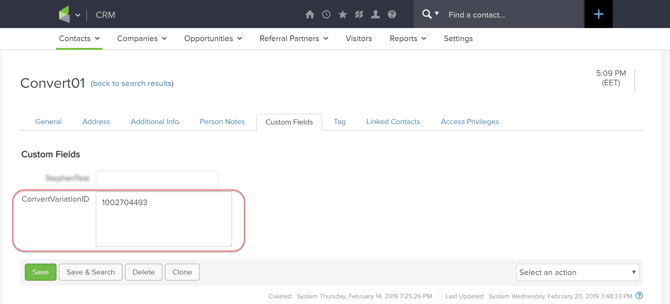
View Convert data in Keap
After submitting your form, go to your Contacts records in Keap and see the Custom Field populated with a value. This is the Convert Variation ID that the specific user was bucketed into.